Zoho Creator: Creating Subforms vs. Stateless Subforms
Fri Jan 10 2025
Zoho Creator · Best Practices
Creating Subforms vs. Stateless Subforms
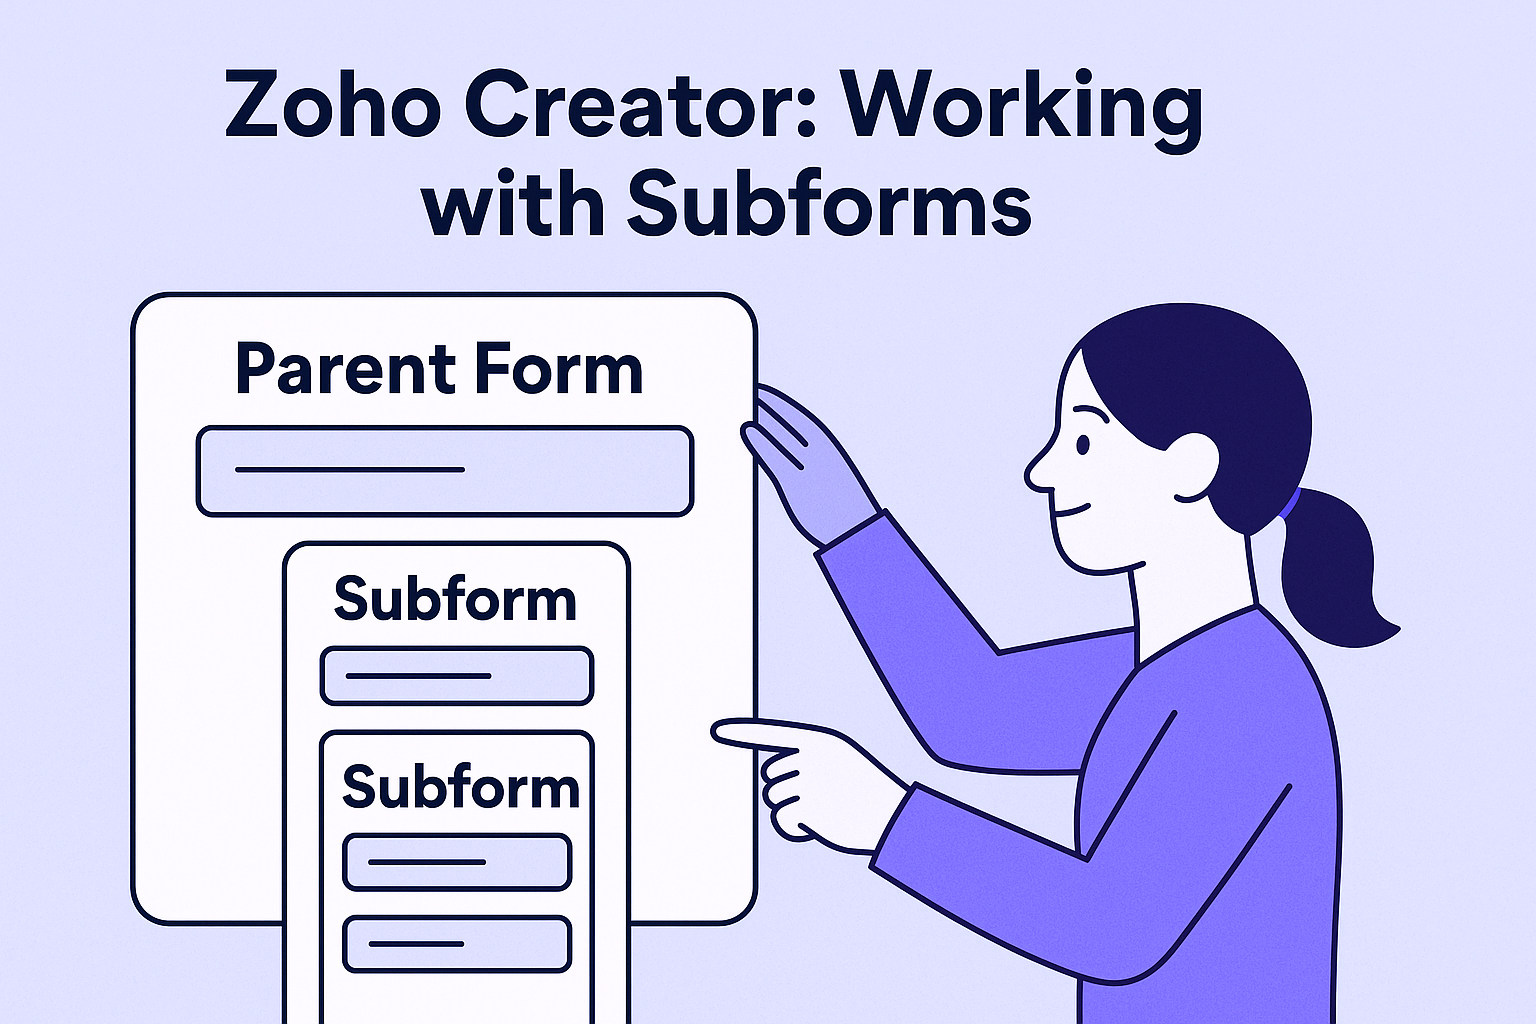
Subforms model one-to-many data inside a parent form. The choice between a data-storing Subform and a Stateless Subform determines how your rows are saved, reported, and integrated.
Use Subform when…
- You need each row saved in its own report
- You’ll run reports/dashboards on line items
- Rows are referenced later or integrated (CRM/Books)
Use Stateless Subform when…
- Rows are temporary/transient
- You’ll transform and send a payload elsewhere
- You don’t want a child report for these rows
Subforms (data-storing)
A Subform captures repeating rows in a parent form and stores each row in a child form/report. Perfect for line items, notes, or anything you’ll analyze later.
- 1
Create the child form
Define fields (Product, Qty, Unit Price, Line Total).
- 2
Add a Subform to the parent form
Select your child form as the source.
- 3
Save and test
Each row is saved to the child report, linked to the parent.
Pro tip: keep subform columns lean and compute totals on submit.
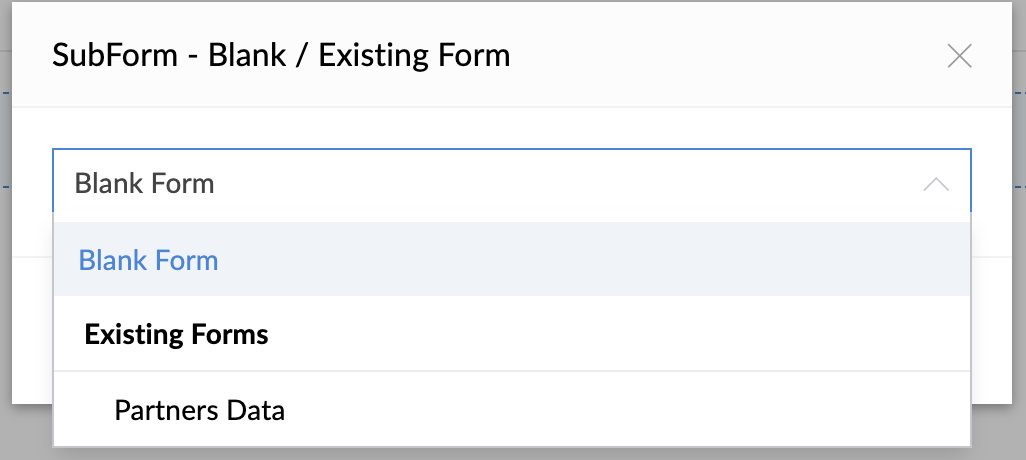
Stateless Subforms (no data storage)
A Stateless Subform is a blank subform that does not store its own records. Great for collecting and processing rows without creating a child report.
- 1
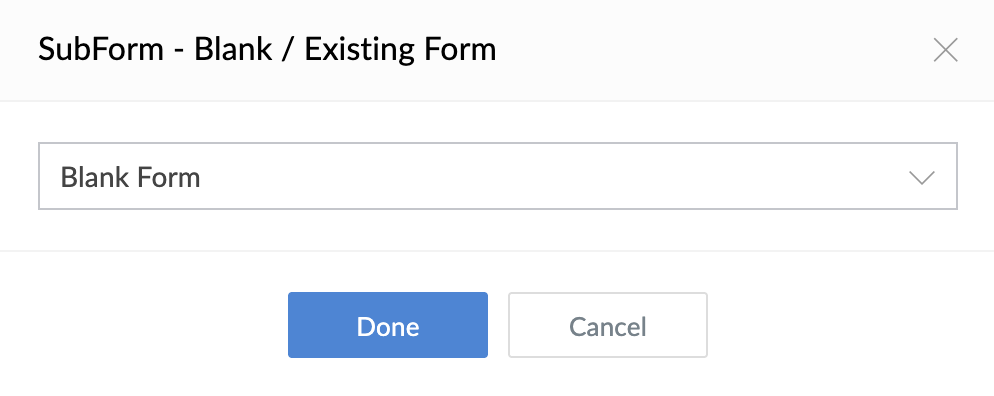
Add Subform as Blank
Choose Blank as the source.
- 2
Define columns
Only what you need for calculations/payload.
- 3
Process in workflows/functions
Validate rows; call Connections/webhooks.
Heads-up: stateless rows aren’t queryable later—persist them yourself if needed.
Integration pattern: flatten subform rows
subform = MainForm.subform();
subform.Name = "MOSTAFA";
subform.Notes = "This is for testing.";

subform2 = MainForm.subform();
subform2.Name = "BADAWY";
subform2.Notes = "Testing";

newCollection = Collection();
newCollection.insert(subform, subform2);
input.subformAPIName.insert(newCollection);
Loop and insert safely:
fetchRecords = zoho.crm.getRecordById("Deals", DEAL_ID);
dealSubform = ifNull(fetchRecords.getJSON("Client_Names"), null);
if (dealSubform != null)
{
for each rec in fetchRecords
{
rows = MainFormName.SubformName();
rows.Name = rec.getJSON("Name");
rows.Notes = rec.getJSON("Notes");
input.SubformName.insert(rows);
}
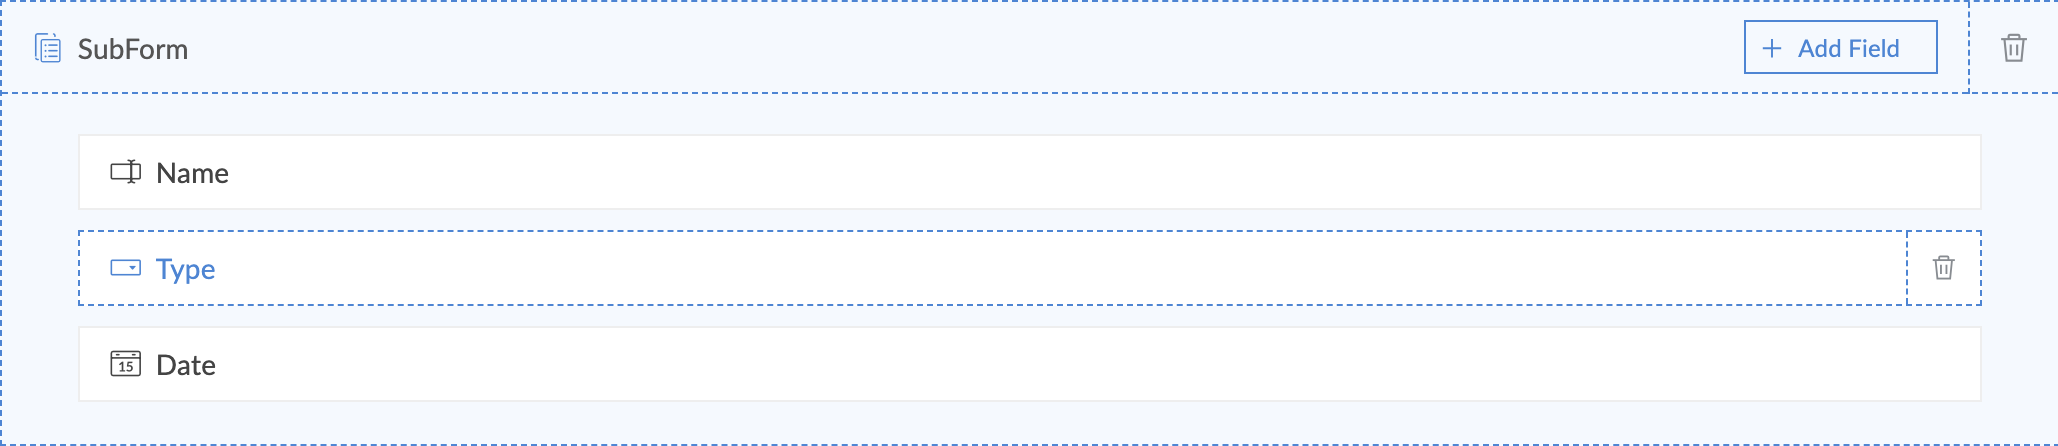
}Show/Hide Fields Inside Subforms (The Tricky Part)
Don’t hide dependent fields in the parent form’s On Load. Scope the logic to the subform.
- On Add Row: hide all dependent fields by default for the new row.
- On User Input of Type: show/hide based on selected value.
- On Edit Row: re-run the same logic so rows open correctly.
// Subform: On Add Row

hide FirstField;
hide SecondField;
// Subform: On User Input of Type

if (Type == "One")
{
  show FirstField;
  hide SecondField;
}
else if (Type == "Two")
{
  show FirstField;
  how SecondField;
}
else
{
  hide FirstField;
  hide SecondField;
}
Checklist
- Use Subform when you need reporting & history
- Use Stateless for temporary/transient rows
- Keep columns lean; compute totals on submit
- Include
row_uidfor safe integrations - Flatten rows for APIs and external tools